Papilio: An Intro

Flutter gives you a powerful toolset for building rich cross-platform apps. You can build single-source apps on macOS, Windows or Linux and run those apps on phones, desktops, and in the browser. Dart is an elegant, modern language that lets you build fast, responsive, and maintainable apps. It’s also familiar to Java and C# developers. You write Flutter apps with Dart. The daunting part for people new to Flutter is the choice of libraries to handle state, navigation (routing) and dependency management (composition). Papilio gives you these three in one package with no extra dependencies.
State Management - BloC
Bloc is a state management pattern that allows you to decouple your business logic from your UI. You don’t need to know anything about BloC to use Papilio. You define BloC event types and send those events to the BloC, which handles them and emits state changes on a stream. Your UI will update automatically. Under the hood, this uses a flutter StreamBuilder that listens to state changes so you can write StatelessWidgets and never need to call setState.
Notice in the example that we handle the Increment and NavigateToIndex events here. Both these events are synchronous.
builder.addRouting(
    (container) => PapilioRoutingConfiguration<PageRoute>(
        buildRoutes: (delegateBuilder) => delegateBuilder
          ..addPage<PageState>(
              container: container,
              name: incrementName,
              initialState: (arguments) => const PageState(0, 0),
              pageBody: (context) => const MyHomePage<Increment>(
                  title: "Papilio Sample - Increment"),
              buildBloc: (blocBuilder, container) => blocBuilder
                ..addSyncHandler<Increment>((state, event) =>
                    state.copyWith(counter: state.counter + 1))
                ..addSyncHandler<NavigateToIndex>((state, event) {
                  if (event.index == 0) {
                    return state;
                  }
                  container.navigate<PageState, PageRoute>(decrementKey);
                  return state;
                }))
          ..addPage<PageState>(
              container: container,
              name: decrementName,
              initialState: (arguments) => const PageState(10, 1),
              pageBody: (context) => const MyHomePage<Decrement>(
                  title: "Papilio Sample - Decrement"),
              buildBloc: (blocBuilder, container) => blocBuilder
                ..addSyncHandler<Decrement>((state, event) =>
                    state.copyWith(counter: state.counter - 1))
                ..addSyncHandler<NavigateToIndex>((state, event) {
                  if (event.index == 1) {
                    return state;
                  }
                  container.navigate<PageState, PageRoute>(incrementKey);
                  return state;
                })),
        currentRouteConfiguration: (page) => page.name == incrementName
            ? const PageRoute(Page.increment)
            : const PageRoute(Page.decrement),
        parseRouteInformation: (routeInformation) async =>
            routeInformation.location == incrementName
                ? const PageRoute(Page.increment)
                : const PageRoute(Page.decrement),
        restoreRouteInformation: (pageRoute) => RouteInformation(
            location: pageRoute.page == Page.increment
                ? incrementName
                : decrementName),
        onSetNewRoutePath: (delegate, route) async =>
            route.page == Page.increment
                ? delegate.navigate<PageState>(incrementKey)
                : delegate.navigate<PageState>(decrementKey),
        onInit: (delegate, container) =>
            delegate.navigate<PageState>(incrementKey)),
  );
Navigation and Routing
Papilio implements the RouterDelegate and RouteInformationParser for Material app routing. You use the MaterialApp.router constructor to create a MaterialApp that uses the Router instead of a Navigator.
This widget listens for routing information from the operating system (e.g. an initial route provided on app startup, a new route obtained when an intent is received, or a notification that the user hit the system back button), parses route information into data of type T, and then converts that data into Page objects that it passes to a Navigator.
This allows you to take control of OS-level events like the Android back button or browser-level URLs. This is critical for ensuring that your app responds to navigation outside the Flutter app. It also ensures that your Flutter app reports correct URLs to the browser. You can see how this works directly in the Papilio Note sample app running live in the browser here.
Importantly, the navigation system decouples navigation from the BuildContext. You can go to a new page or pop the current page without accessing the BuildContext. This means that there is a true separation of navigation and UI. You will remove the temptation to navigate in UI callbacks. Instead, the BloC can navigate upon receiving events and encountering logic cases.
addPage<PageState>(
              container: container,
              name: incrementName,
              initialState: (arguments) => const PageState(0, 0),
              pageBody: (context) => const MyHomePage<Increment>(
                  title: "Papilio Sample - Increment"),
              buildBloc: (blocBuilder, container) => blocBuilder
                ..addSyncHandler<Increment>((state, event) =>
                    state.copyWith(counter: state.counter + 1))
                ..addSyncHandler<NavigateToIndex>((state, event) {
                  if (event.index == 0) {
                    return state;
                  }
                  container.navigate<PageState, PageRoute>(decrementKey);
                  return state;
                }))
Composition (Dependency Management)
Papilio uses the ioc_container package for gluing everything together. It takes inspiration from the .NET Service Collection class, at the core of .NET dependency injection. This package gives you a place to store your singletons or factories so that you can access existing instances of your classes or freshly minted ones that are interdependent on other classes.
You can see in the example that there are extension methods that use the builder pattern to add pages and so on to the container. These extensions put the logic and navigation magic into the container for you, and the MaterialApp will call upon this as the app navigates from page to page. You should notice that this system allows you to divide your classes in any way you prefer, giving you the tools you might need to implement Clean Architecture or other architectural patterns.
IocContainerBuilder compose({bool allowOverrides = false}) =>
    IocContainerBuilder(allowOverrides: allowOverrides)
      ..addRouting<AppRouteInfo>(routingConfig)
      ..addSingleton((container) => NavigationDrawerState())
      ..addSingleton<FileIOBase>((container) => FileIO())
      ..addSingleton((container) => PersistedModelWrapper())
      ..addSingleton<NewId>((container) => newId);
Sample Apps
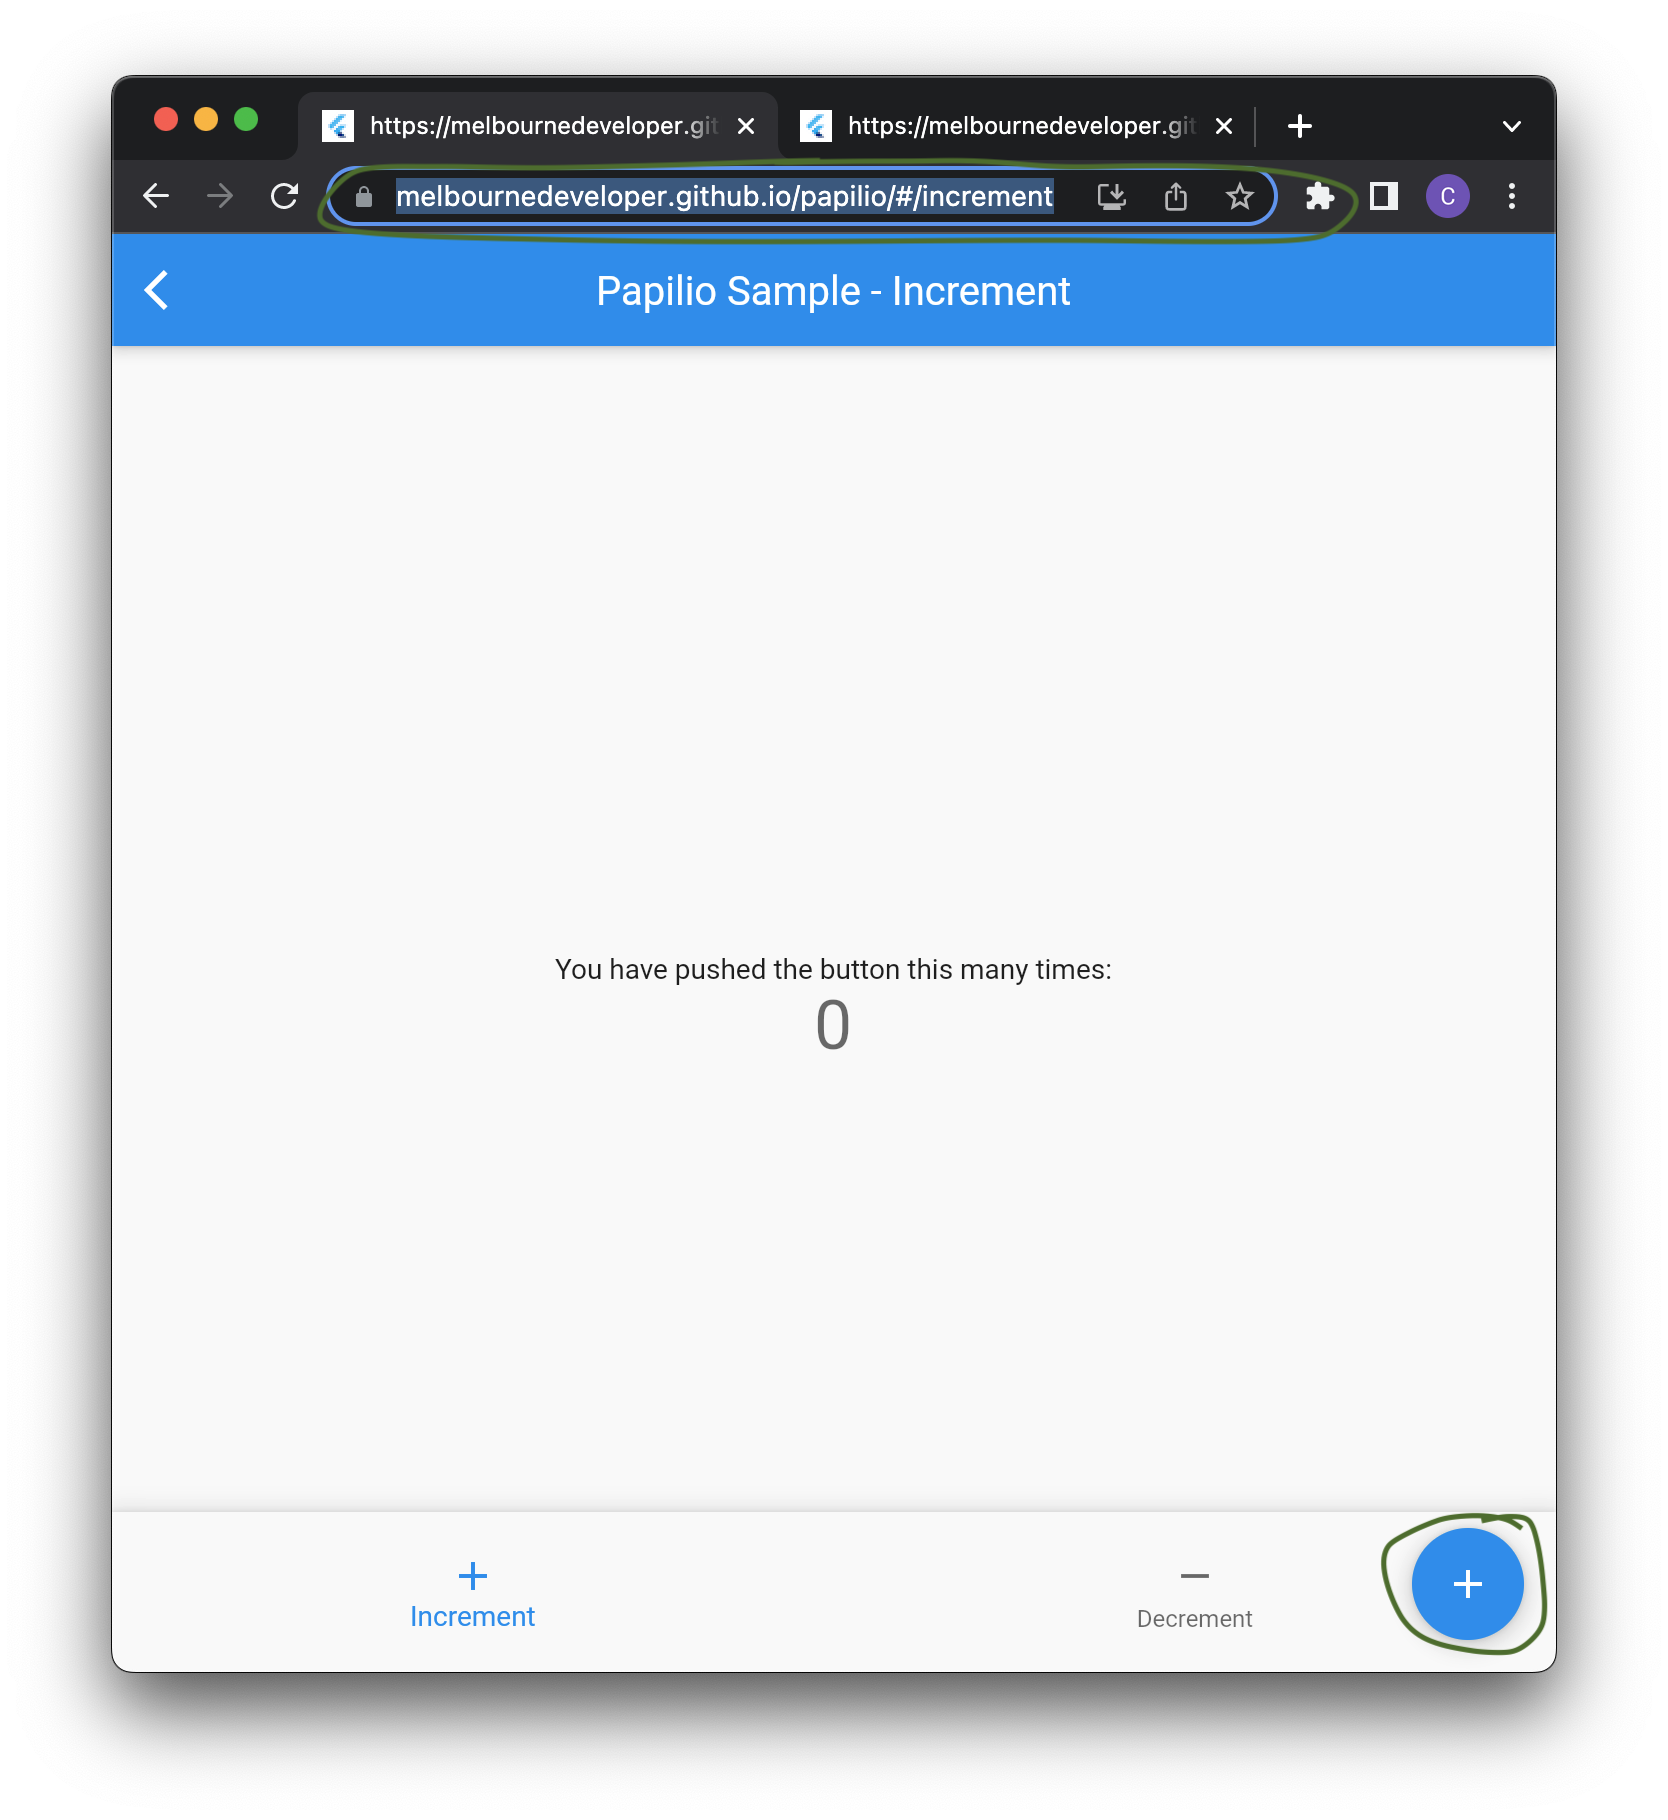
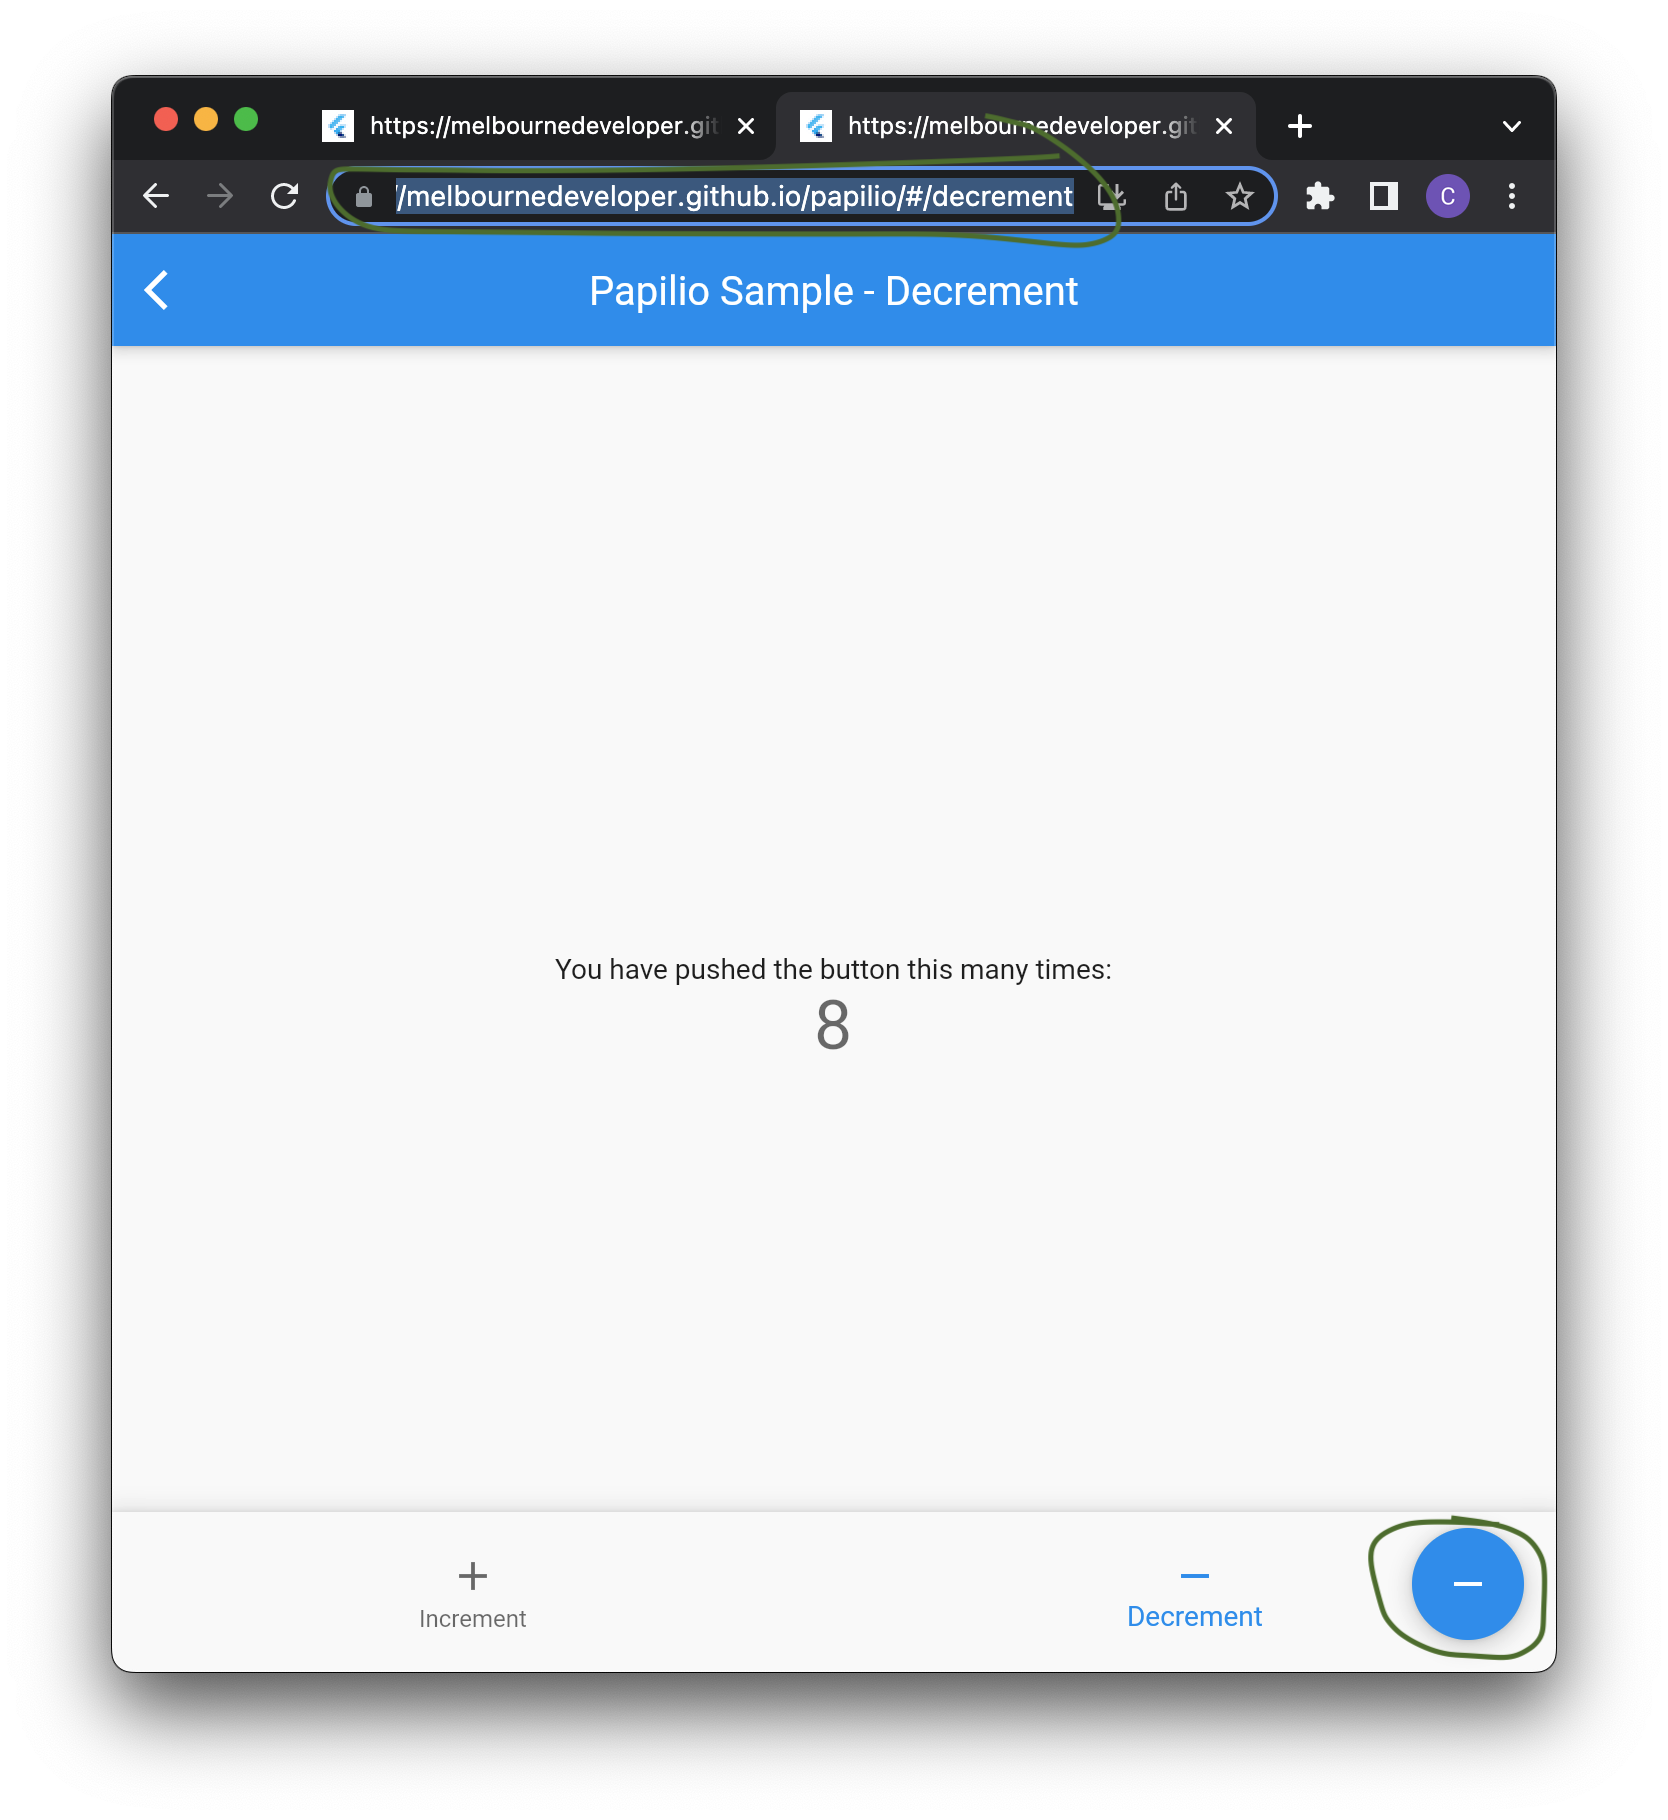
For a basic example, see the example in the papilio GitHub repo. See it running live here. This is a spin on the traditional Flutter increment app. The difference is that you can navigate between the Increment and Decrement pages with the BottomNavigationBar menu. Notice that the URLs in the browser update, and you can navigate via the URLs in the browser. This is why the code for parsing out and routing is necessary. Papilio does not hide this from you. It exposes this so you can control how the navigation works with the browser. Try these different URLS in the browser:
https://melbournedeveloper.github.io/papilio/#/increment

https://melbournedeveloper.github.io/papilio/#/decrement

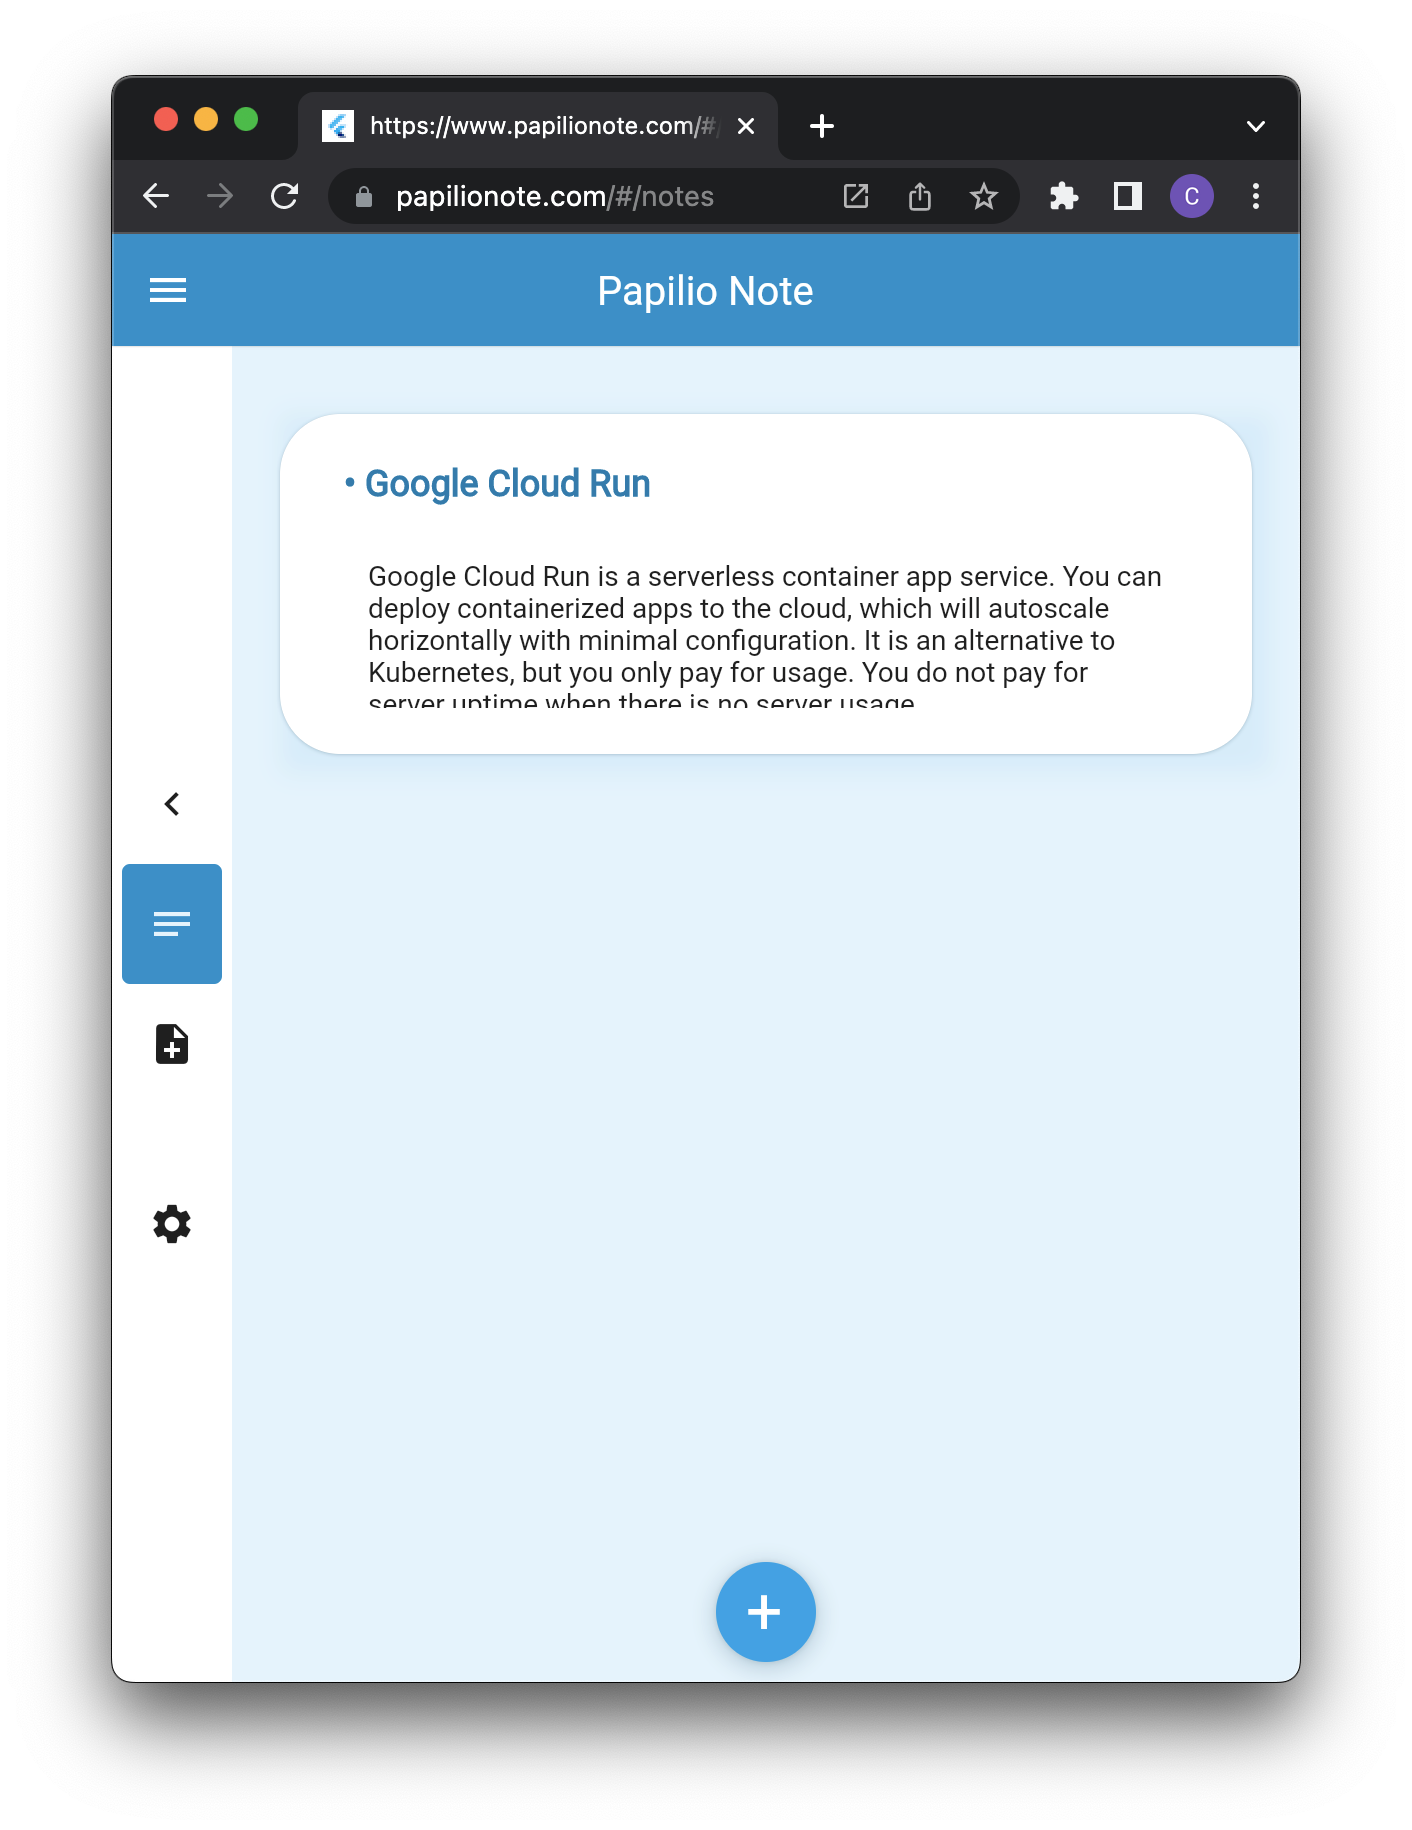
Look at the Papilio Note live sample here for a more powerful example with an adaptive navigation drawer system. At the time of writing, this app only takes up 449 lines of code and has 100% test coverage. Check out the widget tests here to see how you can achieve 100% test coverage in your apps.

Wrap-up
If you like the framework, please give the GitHub page a star, and feel free to hit me up on Twitter about the framework. I will write more about this framework and hopefully build YouTube content on how to build apps with papilio. The sample apps should give you a great baseline to start today. Feel free to copy/paste and modify them.